Blog
How Do You Use the K12 Karaoke Sound System?

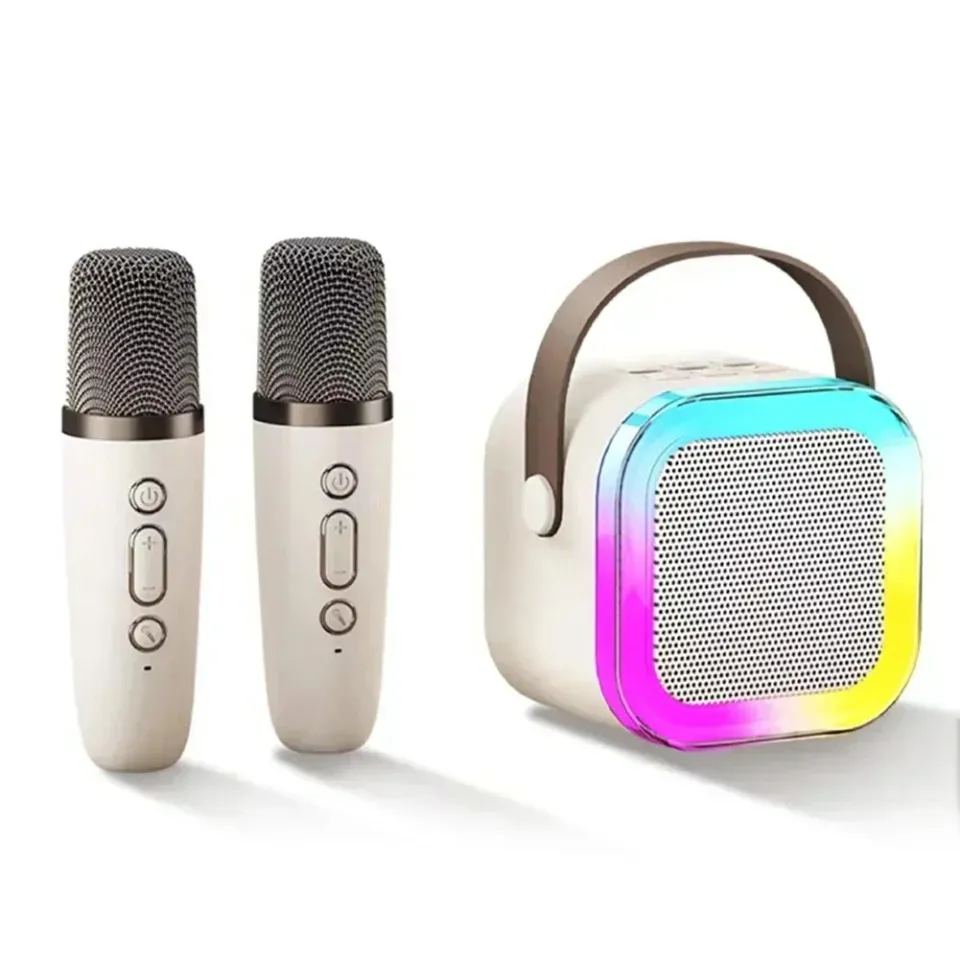
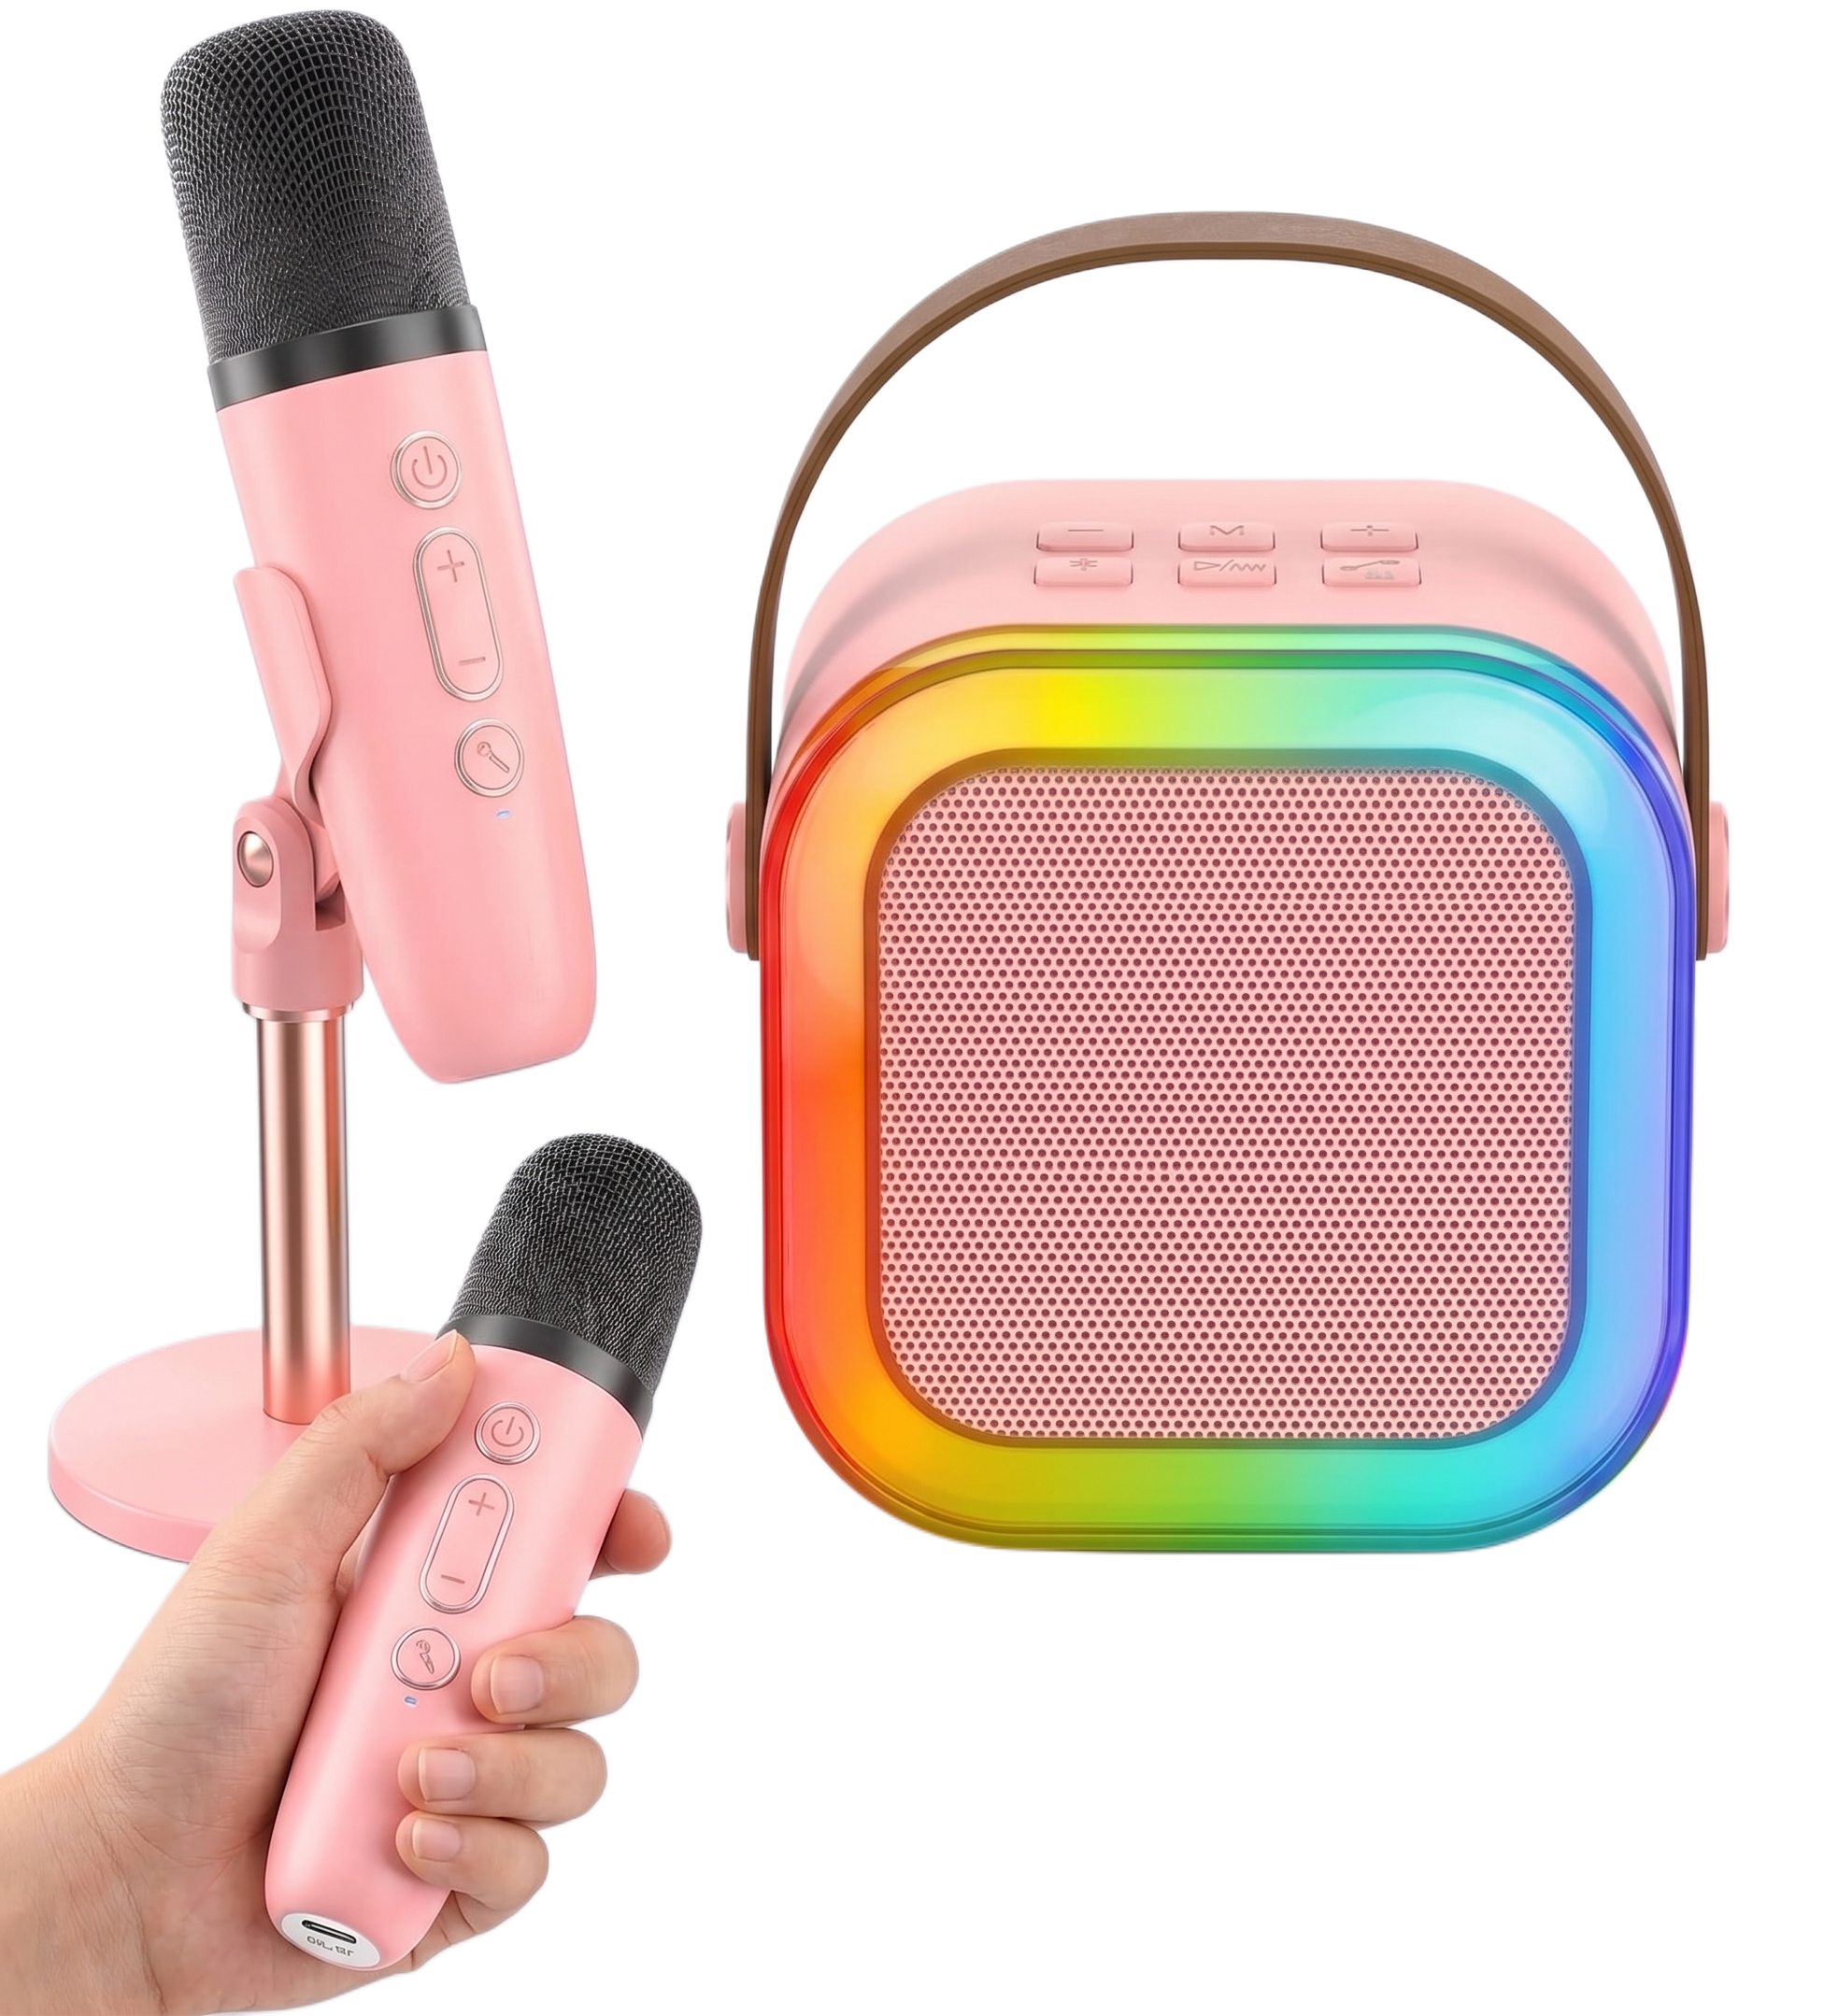
Using the K12 is simple. Turn on the speaker and mic, pair them via Bluetooth, connect your phone, and start singing. The whole setup takes under two minutes once you know where the buttons are. Here’s every function broken down.
How Do You Turn On the K12 Speaker and Microphone?
Press and hold the power button on the speaker for 3 seconds. You’ll hear a startup tone and the RGB lights will switch on automatically.
For the microphone, toggle the side switch or hold its power button. The mic’s indicator light flashes blue while searching, then stays solid once it connects to the speaker. This pairing between mic and speaker happens automatically every time, so you never need to repeat a setup process.
How Do You Connect the K12 to Your Phone via Bluetooth?
Open Bluetooth settings on your phone, search for “K12,” and tap to connect. Pairing typically completes within 5 to 10 seconds.
Once connected, any audio from your phone, whether that’s a karaoke app, YouTube, or a playlist, plays through the speaker. The connection holds steady up to roughly 32 feet, so you can leave your phone on the table and move around the room with the mic.
Can You Use the K12 Without Bluetooth?
Yes. The K12 has a TF card slot and a USB port, so you can load MP3 files onto a card or drive and plug it straight in.
This is a useful backup if your phone battery dies mid party or if you want to preload a setlist without relying on a Bluetooth connection.
How Do You Control Volume and Skip Songs on the K12?
Tap the plus or minus buttons once to adjust background volume. Press and hold either button to skip forward or back a track.
A quick short press of the main power button pauses or resumes playback, so you can stop a track to talk to the room without switching anything off.
How Do You Change the RGB Lights on the K12?
Tap the light button to cycle through lighting modes. Hold it for 2 seconds to turn the lights off completely.
The lights pulse and shift in sync with your vocals and the backing track, so each mode feels different depending on what’s playing. If you’re running on battery and want to stretch playtime, turning the lights off is the easiest way to claw back extra runtime, since the LED ring is one of the bigger draws on the battery.
How Do You Adjust Mic Volume and Add Echo?
Press the volume buttons on the mic itself to control how loud your voice sits over the music. Double click either volume button to increase or decrease the echo effect.
A light echo setting works best for ballads and big choruses. For faster, punchier tracks, dialing the echo down keeps your vocals crisp instead of muddy.
How Do You Use the Voice Changer Effects on the K12?
Press and hold the mic button to cycle through five voice modes: original, male filter, female filter, baby voice, and monster filter. Keep holding to cycle back to your normal voice.
Each press moves you one effect forward. There’s no menu to navigate and no app required, so kids can operate this independently, which is exactly why it’s one of the most used features at parties.
What Does Vocal Removal Do and How Do You Turn It On?
Vocal removal strips the original singer’s voice out of a regular song, leaving just the instrumental so you can sing lead yourself.
Press the sound cancellation button on the speaker or mic to toggle this on or off. It works best on songs with vocals mixed centrally, which covers most pop and rock tracks. Some songs with heavily layered or panned vocals may not fully remove, and that’s a limitation of the original recording, not the speaker.
How Do You Charge the K12 Speaker and Microphone?
Plug the included Type-C cable into the speaker and mic charging ports. A red light stays on while charging and turns off or changes color once full.
For first time use, give both the speaker and mic a full charge before your first session. This isn’t strictly required, but it gives you the most accurate read on real battery life from day one and avoids a mid song shutdown.
How Long Does the K12 Battery Last?
On a full charge, the K12 delivers up to 48 hours of standby power, with continuous singing time varying based on volume and lighting use. Heavy RGB use and higher volumes will bring that runtime down, while keeping lights on a single steady mode and volume at a moderate level stretches it considerably further.
If you’re planning a long session, such as a full birthday party or an evening with friends, charge both units the night before. The 5V Type-C fast charging means even a partial top up between songs makes a noticeable difference.
What If the Mic Won’t Connect or There’s No Sound?
If the mic won’t connect, turn both the speaker and mic off, then back on, starting with the speaker first. This resets the automatic pairing and resolves the vast majority of connection issues.
If you have sound from the speaker but nothing from the mic, check the mic’s volume buttons haven’t been turned all the way down, and confirm the mic is actually powered on rather than just lit up. If Bluetooth audio cuts out, move your phone closer. Beyond 32 feet or through multiple walls, the connection can drop.
Buy Karaoke Machine and the K12 Mini Karaoke Machine
If you’re shopping rather than troubleshooting, the K12 Mini Karaoke Machine at Buy Karaoke Machine is built around exactly this setup: instant Bluetooth pairing, automatic dual mic syncing, RGB lights that move with your vocals, and all five voice effects on one button. It’s compact enough for a shelf, portable enough for a backyard, and simple enough that anyone in the house can turn it on and start singing within minutes. Whether you’re after one of the best karaoke machines for a kids’ party or something for casual nights with friends, the K12 range at Buy Karaoke Machine covers both.